Last updated November 21, 2026
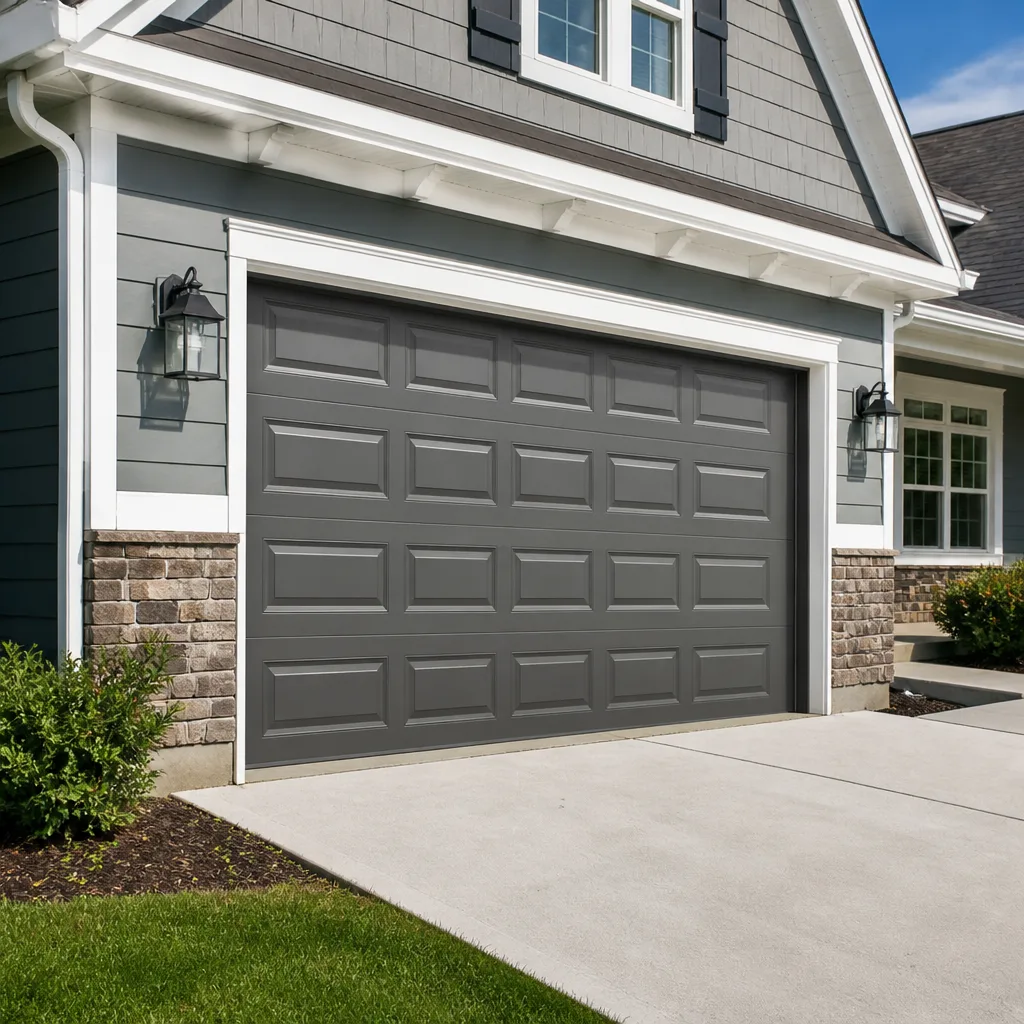 Raised-panel steel
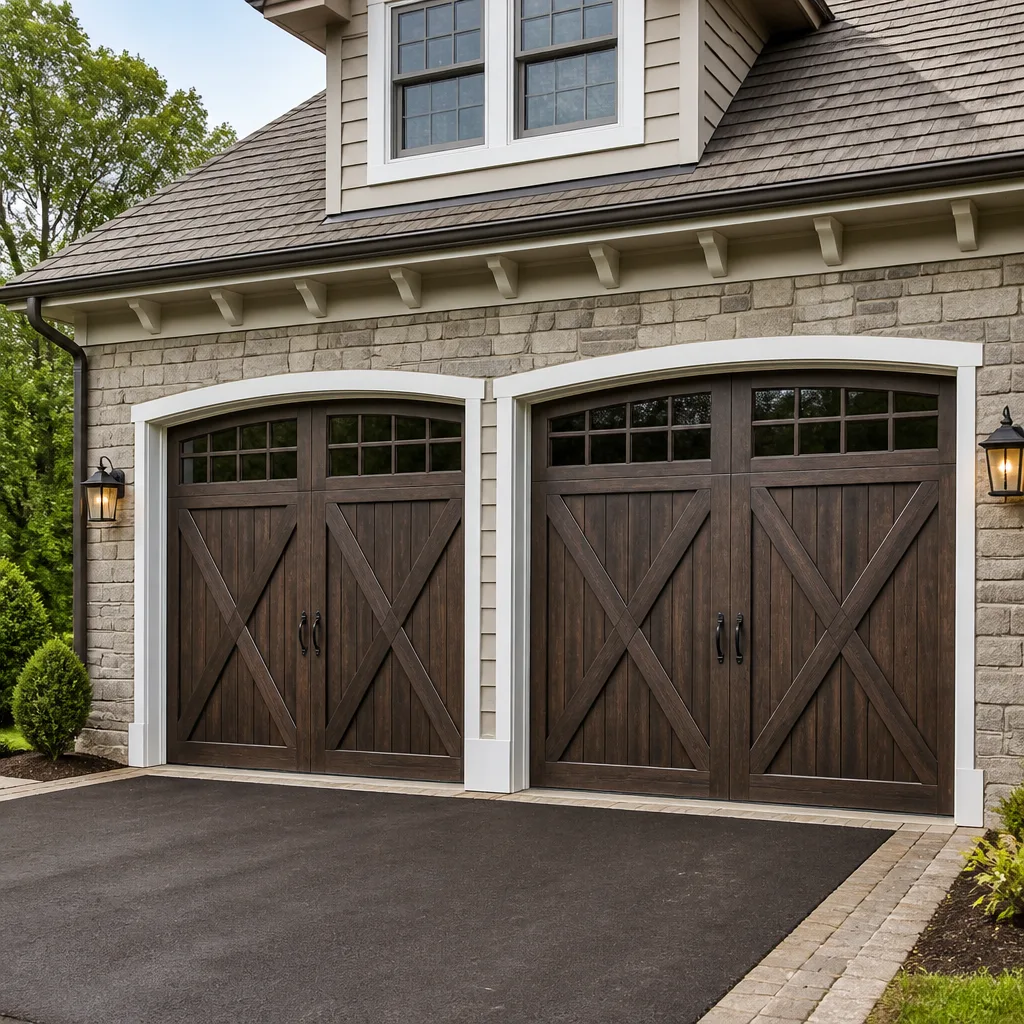 Carriage house
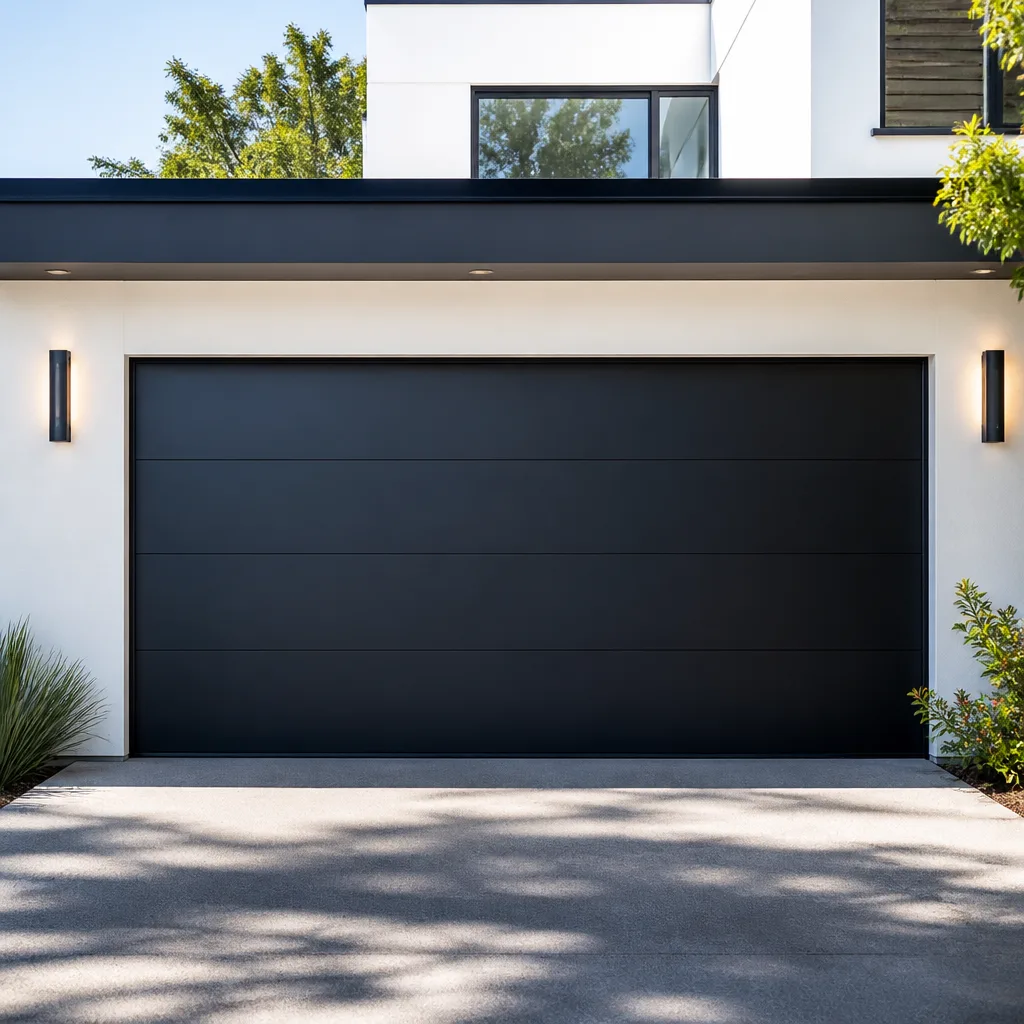 Modern flush
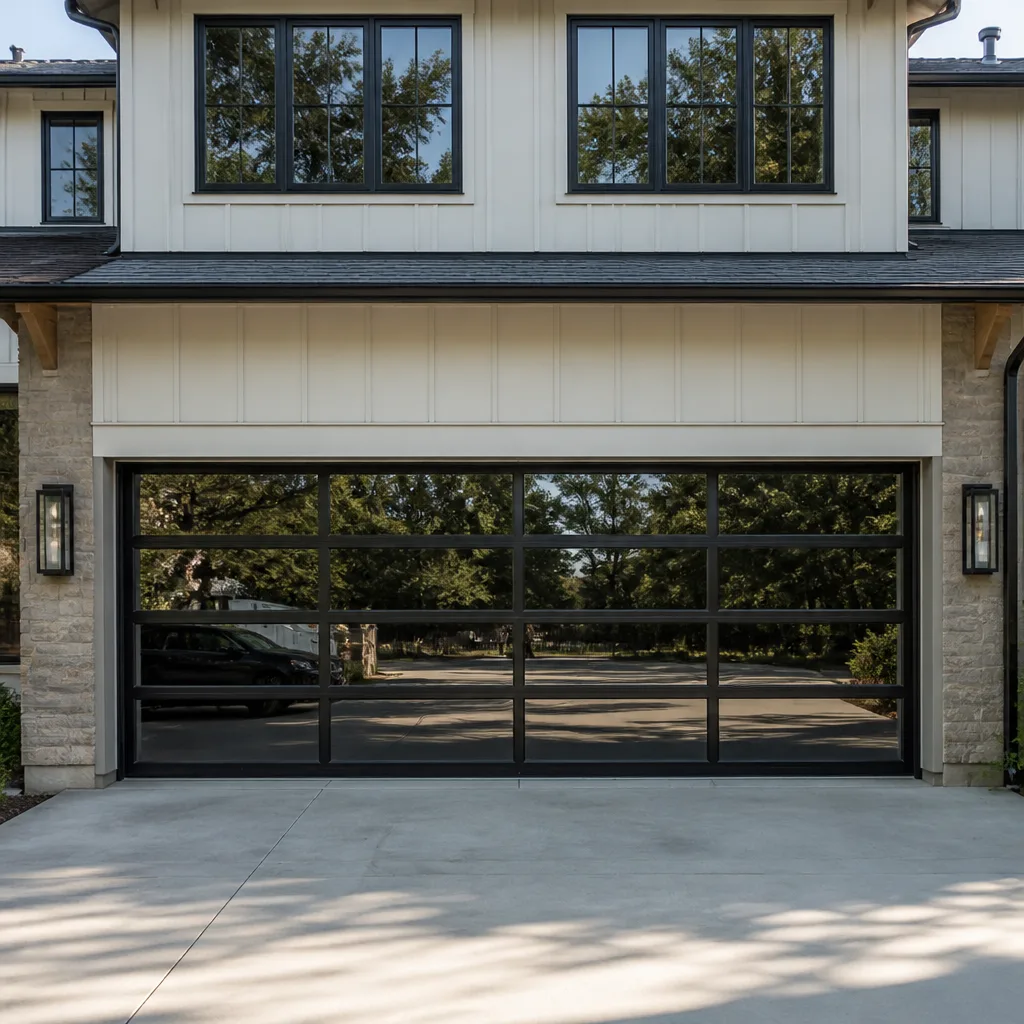 Full-view glass
 LiftMaster openers
 Chamberlain openers
Full 25-point door and opener safety check with every visit - springs, cables, rollers, tracks, and your LiftMaster or Chamberlain opener included
You get a price before we start. It does not change when the pro arrives.
Get your free estimateGarage Door Repair Maintenance Checklist for Chicago Lawn Homeowners
Here’s the counterintuitive part: the number-one reason a Chicago Lawn garage door fails in deep winter usually isn’t the spring. It’s the lubricant. Whatever was on the hinges, rollers, and track back in October has had months to thicken into paste, and the first hard freeze turns it into glue. The spring gets blamed because that’s the part that snaps. The lubricant is what made it work so hard. This guide walks through maintenance the way a technician actually moves through a door, starting at the hardware, then the spring system, then the opener, so you catch a small problem before it cascades into a call for repair. You’ll get the seasonal swap points for a Chicago Lawn door specifically, the two-cable check you can do safely, and the bottom-seal test that accounts for our uneven, frost-heaved alley floors.
Quick Answer
A workable garage door maintenance checklist for Chicago Lawn homeowners runs in this order: inspect and lubricate the hardware and rollers first, check the cables and seals second, and test the opener last. Schedule a full lubricant and seal pass before the first hard freeze in October and a second pass in April, once freeze-thaw movement has settled. The sequence matters because opener problems are often just a door that’s fighting bad hardware or a dry spring system upstream.
Styles & brands we work with
- Raised-panel steel
- Carriage house
- Modern flush
- Full-view glass
- LiftMaster openers
- Chamberlain openers
Table of Contents
- Why the Order of Your Checklist Matters
- Step 1: Hardware, Rollers, and Track
- Step 2: The Spring System and Your Safe Cable Check
- Step 3: The Opener and Safety Reversal Test
- Which Lubricants Fail Below 20°F in Chicago Lawn
- Testing the Bottom Seal Against a Chicago Lawn Alley Floor
- October and April: The Two Seasonal Swap Points
- Common Mistakes to Avoid
Why the Order of Your Checklist Matters
Most maintenance lists are organized by component name, alphabetically or by category, which makes them easy to write and lousy to follow. A door doesn’t fail that way. It fails upstream to downstream. In our experience, homeowners who start at the opener and work backward end up replacing an opener motor because the door was struggling, when the real fix was a dry hinge or a roller that had flat-spotted. The motor was telling the truth the whole time: something was working against it.
So we sequence every inspection the way a technician walks it. You start at the hardware because that’s the cheapest, most accessible layer, and the one most likely to have degraded quietly over a Chicago Lawn winter. You move to the spring and cable system next because that’s where the weight of the door is actually held, and where a small change, like a cable off its drum or a stretched extension spring, shows up dramatically. Only then do you test the opener, because a healthy door is the only fair test of an opener.
Think of it as a chain of evidence. A door that closes unevenly, jerks, or stops halfway is giving you a symptom. The checklist order tells you where to look first, so you don’t start by troubleshooting an electronic control board when the answer is a bent track section near the floor.
Step 1: Hardware, Rollers, and Track
This is where every maintenance walk-through starts. With the door closed and the opener disconnected (pull the emergency release so nothing moves while you’re looking), work top to bottom along the door panels.
- Look at every hinge. The hinges between panels carry load and pivot constantly. Look for rust, cracking, or a hinge that’s bent rather than sitting flat. A hinge that’s pulled away from the panel is a sign the door has been working against resistance.
- Check the rollers. Nylon rollers should spin freely and look round. Steel rollers with loose bearings, flat spots, or visible wear need attention. A roller that wobbles in the hinge is one that’s about to drag.
- Run a hand along the track (with the door stationary). You’re feeling for dents, bends, loose brackets, or sections where the track has pulled away from the jamb. Chicago Lawn doorset tracks take a beating from frost movement at the floor, so pay close attention to the bottom few feet.
- Test the balance by lifting the door by hand to about waist height and letting go. A properly balanced door should hold roughly where you leave it. If it slams down or wants to rise, the springs or cable tension are out of adjustment, and that’s a job for a technician, not a homeowner.
- Tighten what’s meant to be tightened. Hinge bolts, track brackets, and the lag bolts holding the track to the jamb are all fair game. Loose hardware is one of the most common quiet causes of a door that suddenly runs rough.
- Lubricate now, not later. A light, cold-rated lubricant on hinges, roller stems, and the pivot points sets you up for the rest of the season.
If the hardware looks worn beyond tightening, that’s the moment to talk about garage door repair rather than pushing through the season. Small hardware replacements done early are far less costly than a panel that tears loose.
Step 2: The Spring System and Your Safe Cable Check
Springs are the highest-risk component on any garage door. A torsion spring under load holds enough energy to cause serious injury, and we’ll say that plainly: homeowners should not adjust, remove, or handle springs. What you can do is inspect them from a safe distance and check the cables without touching the spring. That’s the line we recommend, and it’s the line a trained technician respects too.
What to look at safely
- Torsion springs (the coil above the door on a shaft): look for a visible gap in the coil, a spring that looks noticeably stretched compared to its neighbor, or rust tracking along the winding. A gap means the spring has broken, even if the door still works with one spring holding it.
- Extension springs (along the horizontal tracks): look for a sagging spring, a stretched spring, or a broken safety cable (the cable that threads through the middle of the spring). If your door has extension springs and no safety cable running through them, that’s worth addressing.
- Cable drums and the lift cables: the two cables should ride cleanly in their drums, with no fraying, kinks, bird-caging, or slack. A cable off its drum is a call-it-in situation, not a rewind-it-yourself one.
The two-cable tension check you can do safely
With the door fully closed, compare the two lift cables (or the two sides of a single-cable extension setup) where they run down the edges of the door. They should look evenly tensioned. If one side is visibly slacker than the other, or a cable is riding out of its drum, stop, don’t cycle the door, and call for service. An uneven cable can drop a door abruptly. If your springs have failed or the cables look compromised, that’s spring repair done the safe way. You can reach our team for garage door repair service and we’ll take it from there.
Step 3: The Opener and Safety Reversal Test
Only after the hardware and spring system check out is it fair to test the opener. A healthy, balanced door should cycle smoothly and quietly. If the opener is straining, reversing for no reason, or running louder than usual, you’re seeing either an opener problem or a door problem the opener is trying to keep up with.
- Reconnect the door to the opener and cycle it fully open and closed once, watching for jerks, hesitation, or a door that drifts to one side.
- Test the safety reversal. Place a small object like a roll of paper towels in the door’s path and close it. The door should reverse on contact. If you have an older unit with mechanical contact reversal only, test the pressure sensitivity as specified in your opener’s manual.
- Test the photo-eye safety sensors by waving a hand across the beam while the door is closing. The door should reverse immediately. Wipe the sensor lenses with a dry cloth; dust and grime are a frequent cause of phantom reverses.
- Listen for the opener. Grinding, clicking, or a motor that runs but moves nothing usually points to stripped gears or a slipping belt or chain. LiftMaster and Chamberlain openers in myQ-equipped homes sometimes report their own diagnostics through the app; it’s worth checking before you assume the worst.
If the opener needs a closer look, garage door opener repair covers the sensors, gear set, belt and chain, and control board. Old Craftsman units and modern Genie or Raynor systems each have their own failure patterns, which is part of why brand familiarity matters.
Which Lubricants Fail Below 20°F in Chicago Lawn
Here’s where a lot of Chicago Lawn doors lose their winter. Not all garage door lubricants are built for cold. Anything silicone-free, grease-based, or just plain WD-40 (which is a solvent and water displacer, not a real lubricant) will thicken, gum up, and drag when temperatures drop. When the lubricant turns to paste, every roller and hinge pulls harder, and that extra load lands right on the spring.
- Skip thick general-purpose grease on hinges and rollers. Grease that’s fine at 50°F can get tacky below freezing and hold grit.
- Skip WD-40 as a lubricant. It’s useful for freeing stuck parts, but it evaporates and leaves a thin film that doesn’t protect rollers or hinge pivots through a Chicago winter.
- Use a cold-rated silicone spray or a dedicated garage door lubricant on hinges, roller stems, and pivot points. Look for a product labeled for cold or low-temperature use.
- Use a neutral, non-staining lubricant on the torsion spring coils if the manufacturer calls for it, and apply sparingly. More grease isn’t better; the wrong grease is worse.
- Don’t lubricate the track itself. The track is a guide, not a bearing surface. Lubricant on the track collects dust and makes rollers drag or skip.
Once October hits, plan a full lube pass before the first hard freeze. Do it again in early spring, since the cold months break down whatever was there. If you’ve never lubricated your door and it’s been through a few Chicago Lawn winters, the difference a proper lube pass makes in how quietly the door runs is the kind of thing you notice immediately.
Testing the Bottom Seal Against a Chicago Lawn Alley Floor
The bottom seal is the rubber or vinyl strip along the bottom panel, and in Chicago Lawn alley-facing garages it does more work than people realize. A flat concrete floor is one thing. An alley apron that’s cracked, settled, or frost-heaved is another. A seal that looks fine from standing height can be barely making contact in three or four spots, which lets in water, cold air, and pests.
A simple test
- With the door fully closed, look at the seal from inside the garage, low to the ground.
- Look for daylight gaps or areas where the seal is riding on high spots of concrete rather than compressing.
- Run a hand or a thin strip of paper along the bottom edge. It should feel the same all the way across. If one section slides freely while another grips, the seal isn’t making consistent contact.
- Wet the floor lightly along the line of the seal on a cold morning: areas where water runs under freely are your leak points.
What to do with an uneven floor
If your threshold is uneven, a standard flat seal won’t solve it. That’s a case for a thicker or more flexible bottom seal, or a threshold seal applied to the concrete, so the door meets a raised, consistent surface. A damaged, torn, or hardened seal should be replaced before winter, because a stiff seal won’t compress against frost-heaved concrete and will crack faster. It’s also the cheapest weatherproofing you can do on any Chicago Lawn door.
October and April: The Two Seasonal Swap Points
Maintenance for a Chicago Lawn door really splits into two bookends: what you do before the freeze and what you catch after it.
October: preparing for the freeze
- Full lube pass on hinges, rollers, and pivot points with cold-rated lubricant.
- Test the balance of the door and check the spring system for early signs of wear.
- Check bottom seal compression against the alley floor and repair or replace uncertain sections.
- Tighten all track brackets and lag bolts before frost movement starts.
- Test the safety reversal on the opener and wipe the photo-eye sensors clean.
- Check the weather seal along the sides and top of the door for gaps.
April: catching freeze-thaw damage
- Re-walk the track and brackets; frost movement at the floor often loosens or shifts the bottom track sections.
- Recheck the bottom seal, since concrete can shift through the freeze-thaw cycle.
- Listen for new noises in the opener and check for a belt or chain that’s stretched over the winter.
- Inspect the spring system for rust and cable condition after a wet winter.
- Re-lubricate everything that was lubed in October, because the cold months take a toll.
The April pass is when you find what the winter did. Doing it early keeps small repairs small. When a door has been through a season of freeze-thaw that it wasn’t maintained for, the repair bill can climb fast. That’s the argument for a spring visit as much as a fall one.
What Your Full Inspection Should Cover at a Glance
Here’s the condensed version of the technician walk, useful if you want a one-page summary to work from. Add brand-specific notes if you own a LiftMaster, Chamberlain, Raynor, or Genie system, since each has its own adjustment points and quirks.
- Hardware: hinges, rollers, track, balance test, bolt tightness.
- Spring system: spring condition, cable drums, lift cable wear and tension.
- Seals: bottom seal compression, side and top weather seals.
- Opener: full cycle test, safety reversal, photo-eye sensors, motor sound.
- Lubrication: cold-rated silicone on the right parts, never the track.
- Seasonal: October lube and tightening pass, April post-winter review.
If you’re working through this on a specific door and aren’t sure whether a symptom is a real issue or just wear, get a second opinion before replacing anything. If a new door is truly on the table, a technician can tell you the difference between “needs new springs and rollers” and “this door has served its time,” and that’s a very different conversation from garage door installation.
See the difference
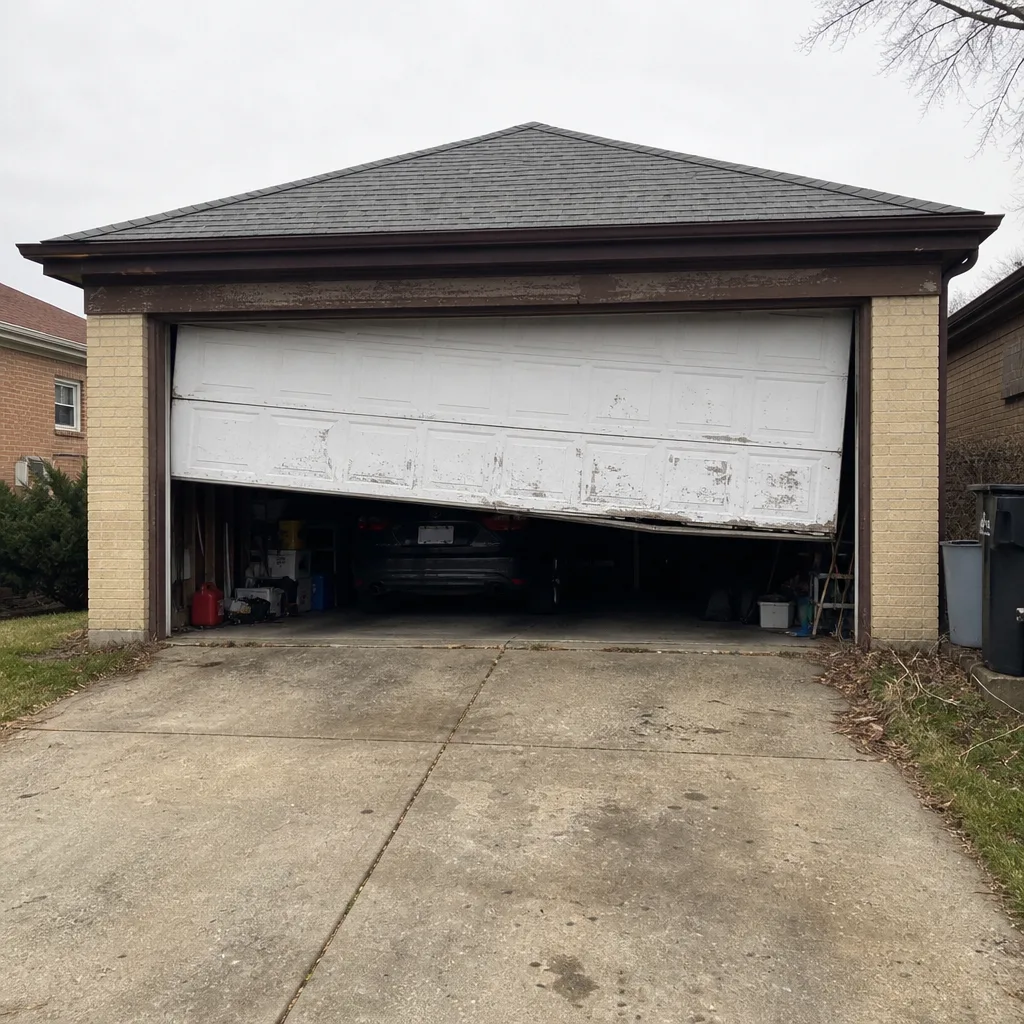 Before
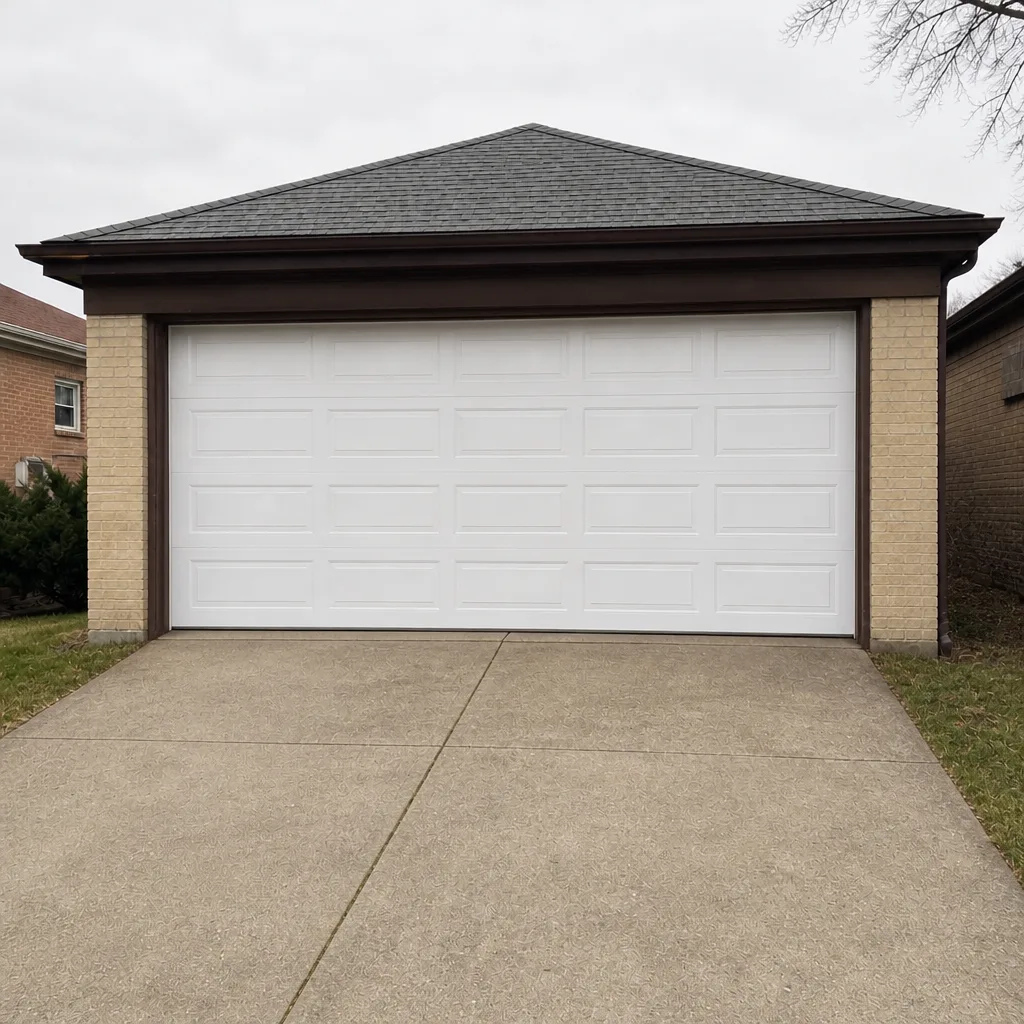 After
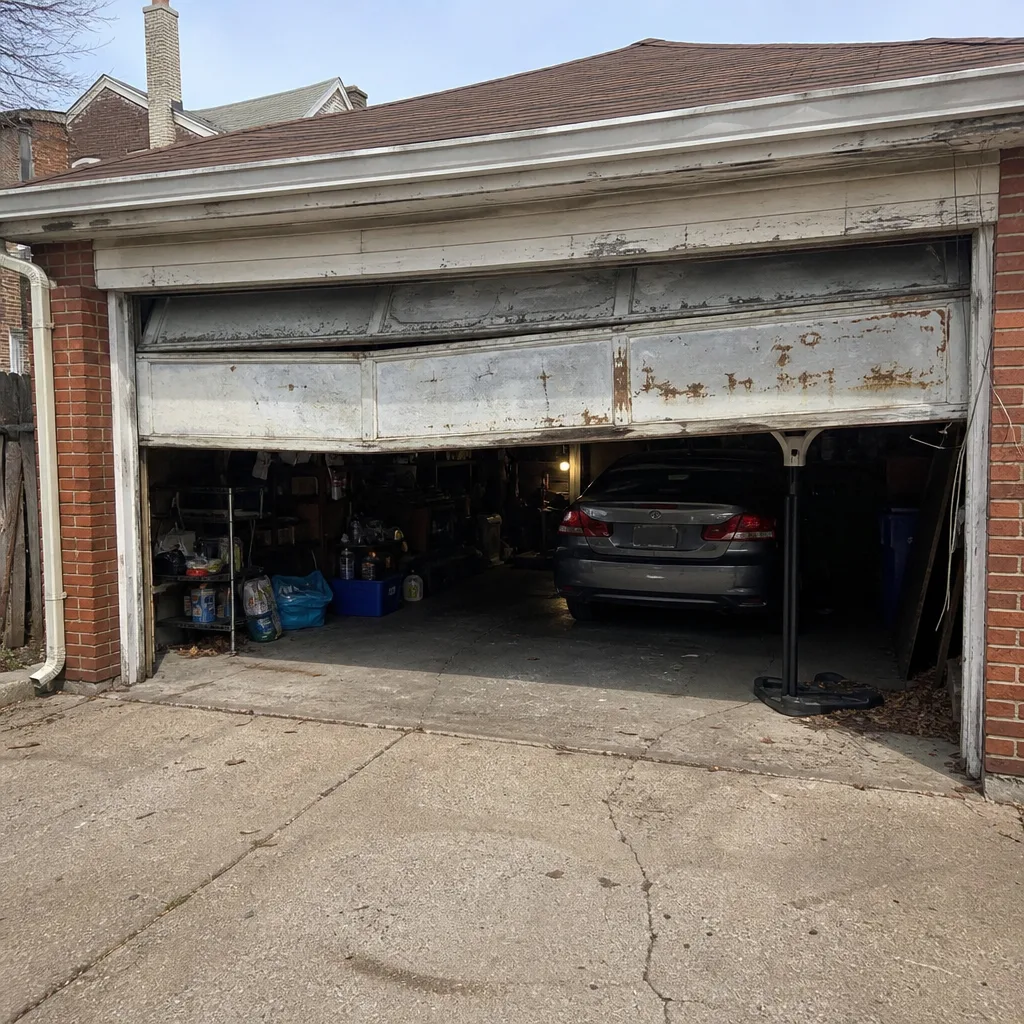 Before
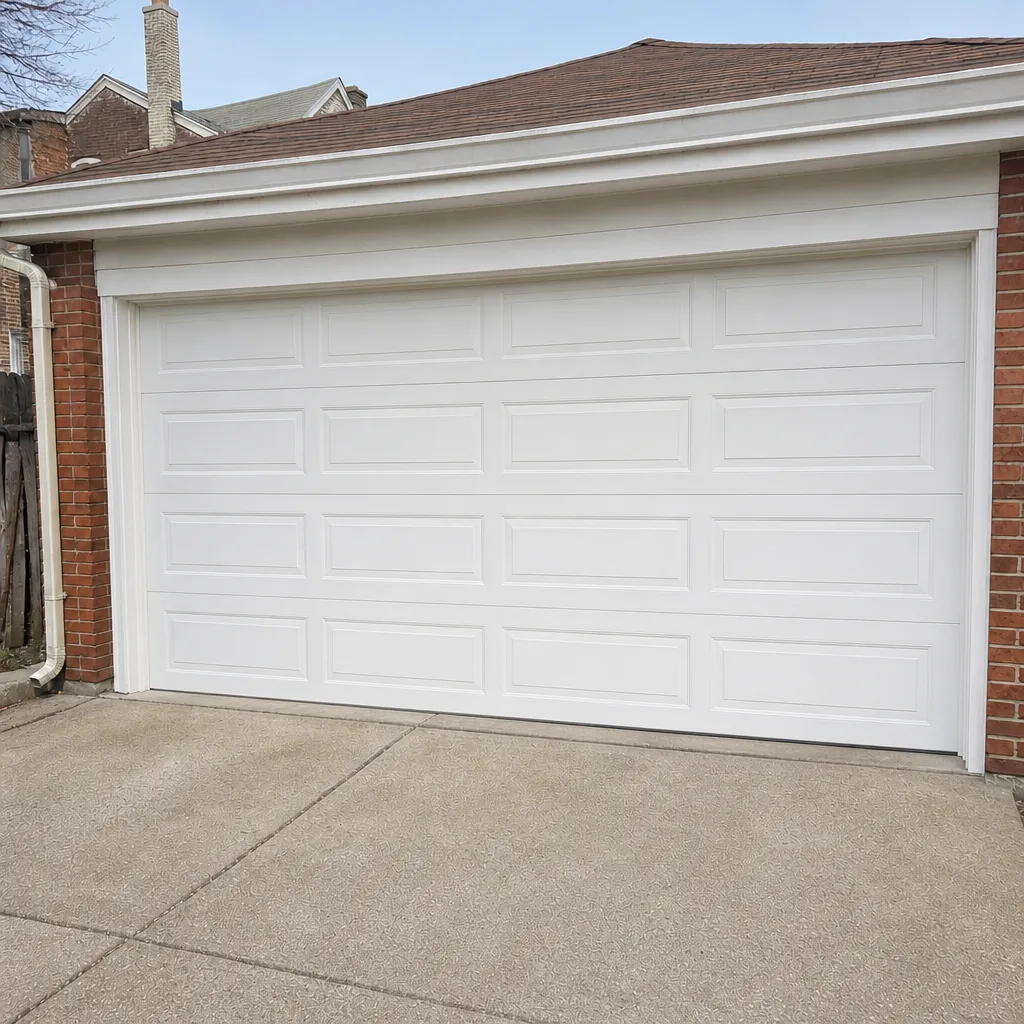 After
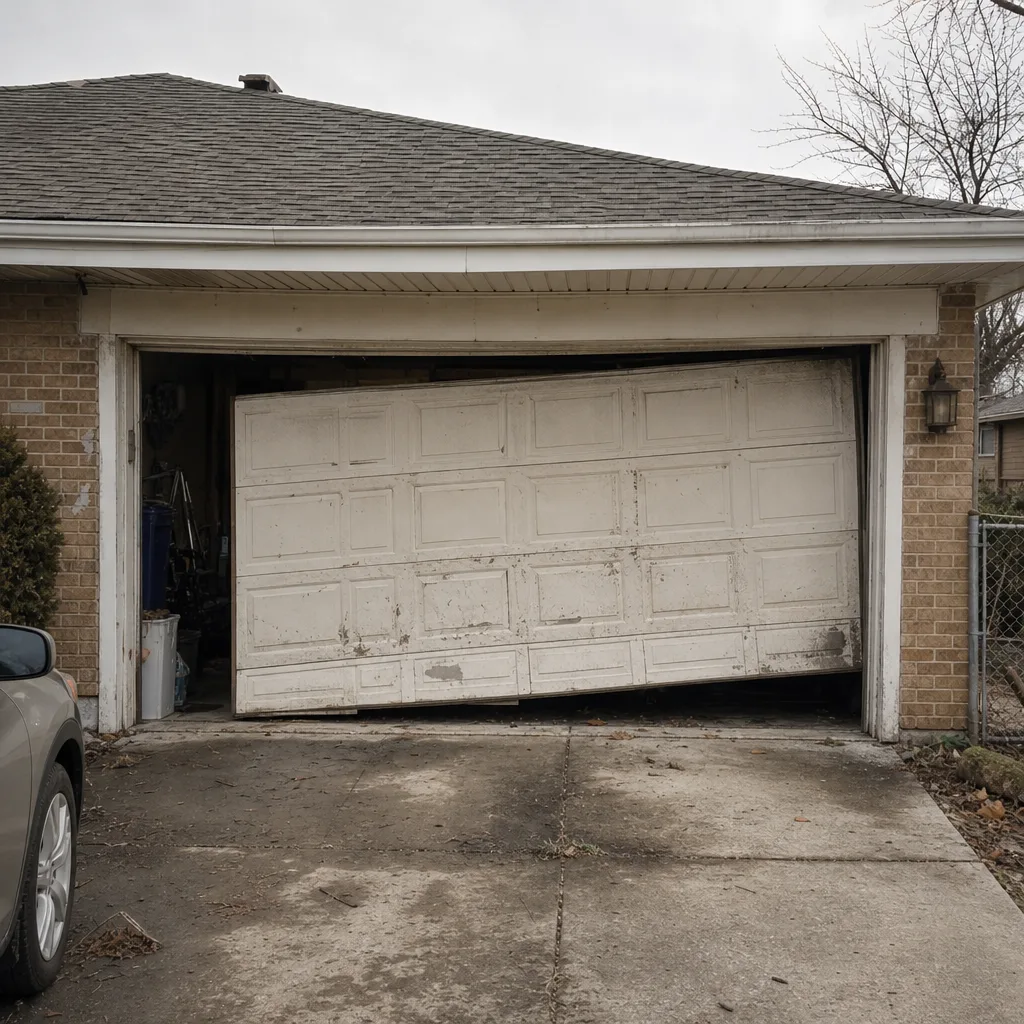 Before
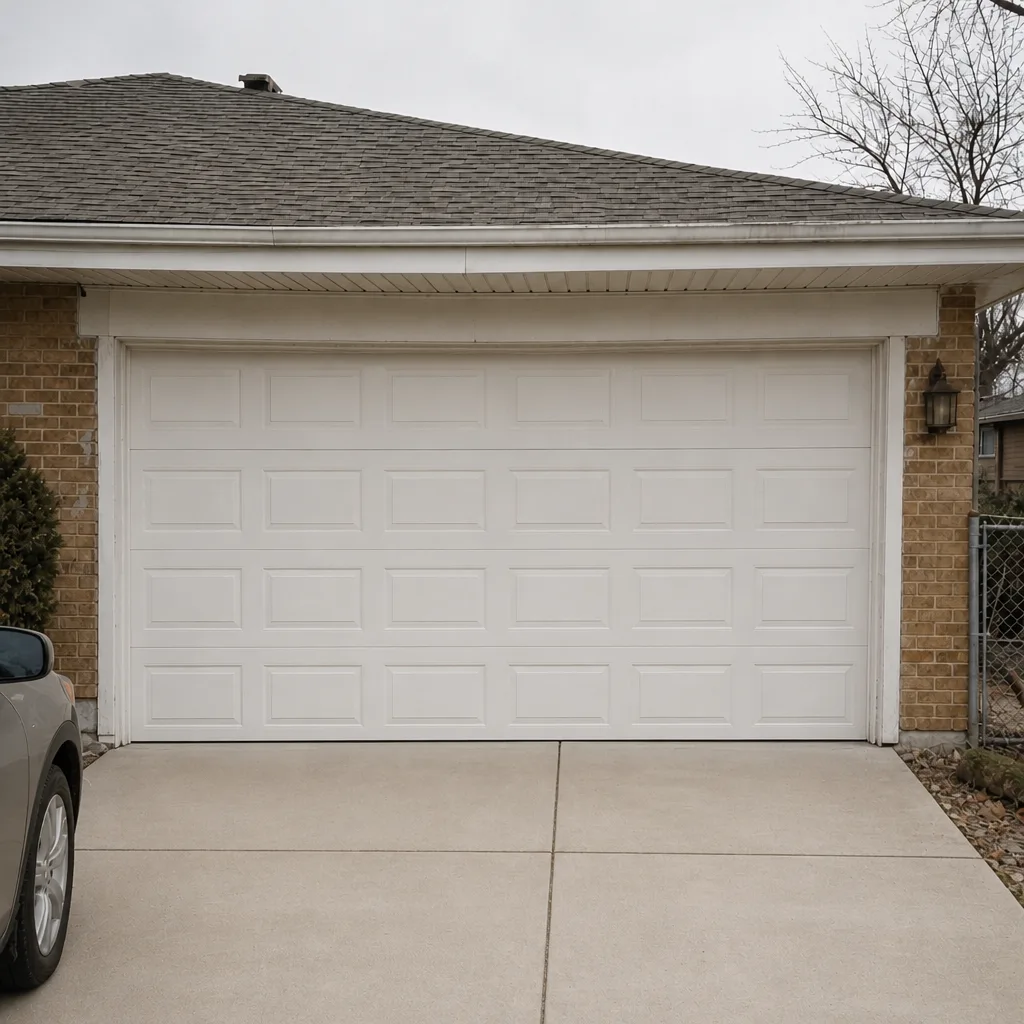 After
Common Mistakes to Avoid
- Starting at the opener. If you troubleshoot the opener first, you’ll spend money on a motor that was only failing because the door was fighting it. Inspect hardware and springs first.
- Lubricating the track. Oil on the track feels intuitive but makes the rollers skip and collect grit. Track stays dry; rollers and hinges get lubricated.
- Using thick grease or WD-40 as a long-term lubricant. Both fail below 20°F. A cold-rated silicone or door-specific lubricant is the right choice for a Chicago Lawn winter.
- Ignoring an uneven seal. A seal that’s only making contact in spots doesn’t stop cold air or water, and an alley floor that’s shifted is exactly the scenario where a standard bottom seal falls short.
- Adjusting springs or cables manually. This is a hard line for homeowners. Springs and cables carry dangerous stored energy and are a job for a trained technician, not a weekend project.
- Skipping the April pass. Frost movement isn’t a springtime-only concern. Checking the track and seal in April catches what the winter shifted before it becomes a bigger structural problem.
- Assuming a broken spring means a new door. Often it doesn’t. Spring repair is a core skill, not a reluctant add-on, and many doors that seem ready for replacement just need the right parts and a reset.
When to Call a Professional
A maintenance checklist can catch a surprising amount, but there are clear points where you should stop turning wrenches. Call us if you find a broken or gaping spring, a cable that’s off its drum, frayed, or visibly slacker on one side, a door that slams or won’t hold its balance, or an opener that runs without moving the door. If your door is hitting the threshold unevenly because the concrete has settled or heaved, that’s also a good time to get a professional assessment. Garage Door Repair Chicago Lawn offers free estimates in Chicago Lawn. Call (855) 658-4150 and a technician can look at the door, diagnose the issue, and tell you exactly what’s needed and what it costs before any work starts. We work on the brands you own, from LiftMaster and Chamberlain to Genie and Raynor, so you’re getting someone familiar with your equipment rather than a generic fix.
Frequently Asked Questions
Twice a year is the practical answer: a full lubricant and inspection pass in October before the first hard freeze, and a second pass in April once freeze-thaw movement has done its work. Doors that get heavy use or face a rough alley apron may want one extra hardware check mid-winter. Call (855) 658-4150 if you want a technician to build a maintenance schedule around your door’s age and brand.
Yes, and this is the safe way to inspect them. Look for gaps in the coil, rust along the winding, or a spring that looks stretched compared to its neighbor. Do not adjust, remove, or handle springs or cables under tension. If you see a gap or a sagging extension spring, stop using the door and call a professional. For (855) 658-4150 we can assess the spring system and quote spring repair before any work starts.
A cold-rated silicone spray or a garage door lubricant labeled for low temperatures. Thick general-purpose grease and WD-40 both fail below 20°F, turning gummy and adding drag on the spring. Apply it to hinges, roller stems, and pivot points, not to the track. If you’re not sure what’s on your door now, a technician can clean and relubricate properly. Call (855) 658-4150 to book a visit.
The seal is likely not making contact evenly with the floor, which is common when the garage apron is uneven or frost-heaved. A seal that’s making contact in only a few spots won’t hold a weather line, and a hardened or torn seal gets worse in cold. A technician can check seal compression against your specific floor and recommend the right replacement. Call (855) 658-4150 for a free estimate.
Check the door first, with the opener disconnected. If the door binds, jerks, or has a broken spring, that’s the door, and the opener is just showing the symptoms. If the door cycles easily by hand but the opener still grinds, runs without moving the door, or reverses for no reason, the opener is the likely culprit. Call (855) 658-4150 and we’ll diagnose it on the spot.
It depends on the opener’s age, its safety features, and whether it’s giving you repeated trouble. Older units can still be repaired, and a new opener isn’t always the answer. If your opener is safety-reversing properly and running reliably, there’s no hurry. If it’s failing, a technician can compare repair vs. replacement costs and quote both. Call (855) 658-4150 for a free estimate.
The Bottom Line
A garage door maintenance checklist works best when it’s sequenced the way a technician works: hardware first, spring system second, opener last. In Chicago Lawn, the seasonal swap points are October, before the first hard freeze, and April, after freeze-thaw movement has settled. Use cold-rated lubricant, never lubricate the track, check bottom-seal compression against an uneven alley floor, and stay away from springs and cables under tension. If something’s clearly wrong, get a professional assessment before it turns into an emergency. Garage Door Repair Chicago Lawn can look at your door and quote the repair before any work starts. Call (855) 658-4150 for a free estimate – our technicians have up to 12 years of experience, which is the kind of tenure you want on your side.
Written by the team at Garage Door Repair Chicago Lawn.